


courtesy photo
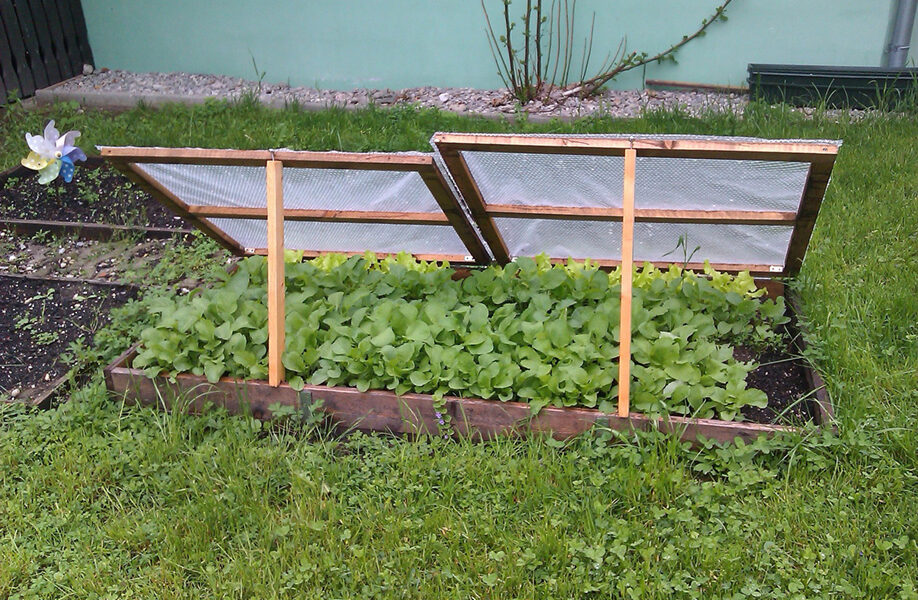
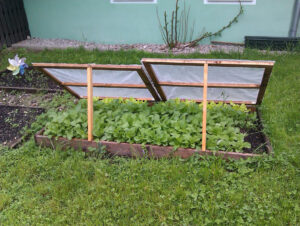
A season-extending cold frame can be built using an old window and salvaged wood to allow for earlier planting and harvest of many vegetables including spring greens like lettuce.
by Andrea Knepper, Extension Master Gardener
BOLTON – Cold frames allow for the early planting of spring vegetables such as lettuce, radishes, carrots and cabbage by protecting them from frost and cold temperatures at the beginning of the season.
You can construct a season-extending cold frame for your garden with an old window, some salvaged wood and basic tools and hardware. This enclosed box with a transparent top allows sunlight to heat the space within. Gardeners can anticipate the temperature inside a cold frame to be 5 to 10 degrees warmer than the outside air.
Different styles of cold frames exist. One easy cold frame to make is a wooden box with the back taller than the front with a window that acts as the lid. There is no bottom, so the frame can be easily moved to any location with soil suitable for planting.
The placement of a cold frames is flexible. Place them directly in a garden bed and then remove them when temperatures warm or put one near the house to access vegetables earlier in the season.
This is especially helpful if the garden is not easily accessible in the winter months. Make sure the cold frame faces south to soak up the sunshine.
To build a cold frame, find a discarded framed single-pane window. Boards should be as long as the perimeter of the window and six or more inches wide. These materials can be obtained free or at a low cost by looking at places like Front Porch Forum and in classified ads.
It is important to note that caution is necessary when using salvaged materials. Avoid treated wood as the chemical preservatives can leach into the soil and vegetables. Wood that looks off-color is one way to identify treated wood. When in doubt, keep looking.
Paint also should be avoided when making a cold frame. Sand off any paint before using the wood to build your cold frame. As always, use the necessary protective equipment when doing so.
Measure the perimeter of the window and make a note of the dimensions. Decide how tall the front of the box should be. The back of the box should be a few inches taller to create a slanted top.
The angled top of the side panels will be the same length as the sides of the window. After marking this, mark the front and back heights and cut. Make two of these sides.
For the back panel, cut a rectangle that measures the width of the window and the desired back height of the cold frame. The front panel is another rectangle the width of the window, but the height should be the front height of the cold frame.
Use whatever hardware that is available that makes sense with the wood being used. Set the window directly on top. If using hinges, attach to the window along the back of the cold frame.
To control the temperature in the cold frame, open the window. Use a stick to hold a hinged window open. An unattached window can be offset from the frame or removed completely to allow cooler air in.
Position the cold frame so that the angled top is facing south. Enjoy some extra time this growing season. View and print a planning worksheet for your cold frame at go.uvm.edu/coldframe.
Andrea Knepper is a UVM Extension Master Gardener from Bolton.
