


NORTH ADAMS, Mass. – Perennial plants return to our gardens each growing season, but after several years, they may outgrow their original space. Dividing perennials in the fall or early spring can help keep these plants healthy while building an ornamental beds over time.
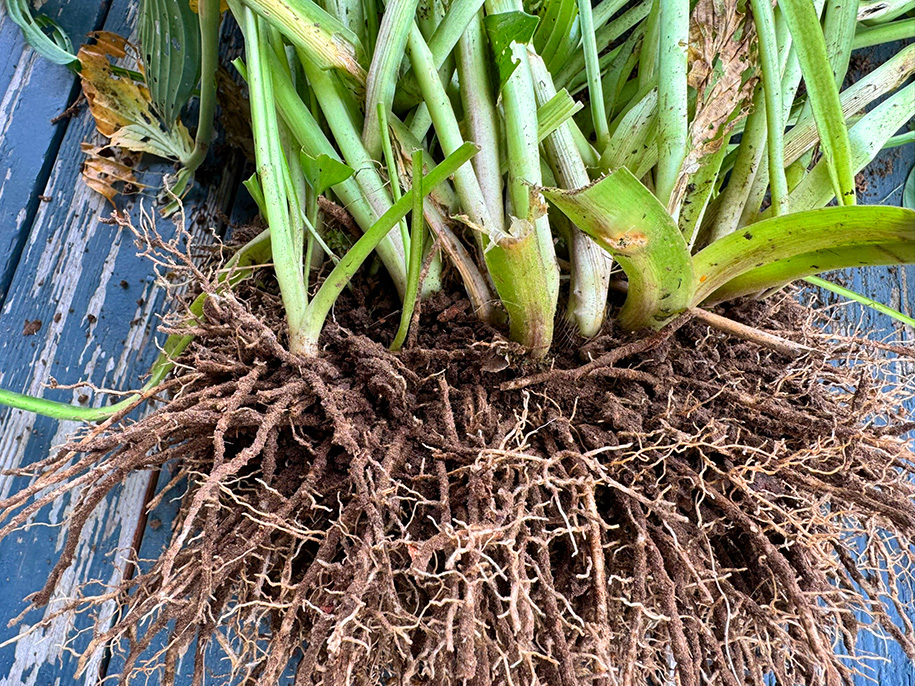
photo by Debra Heleba
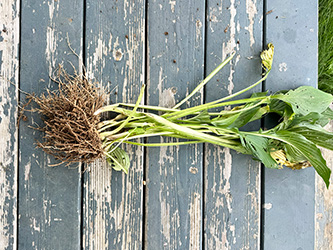
Overcrowding may cause a lack of flowers, increased disease pressure and decreased vigor or die-back. Consider root division to rejuvenate a tired, overgrown plant, give plants around it more room to grow, and provide you with more plants. Who doesn’t love a free plant?
Perennials to consider for root division include hosta (Hosta), speedwell (Veronica), coral bells (Heuchera), blanket flower (Gaillardia), daylily (Hemerocallis), Shasta daisy (Leucanthemum x superbum), coneflower (Echinacea) and moss phlox (Phlox subulata), among others.
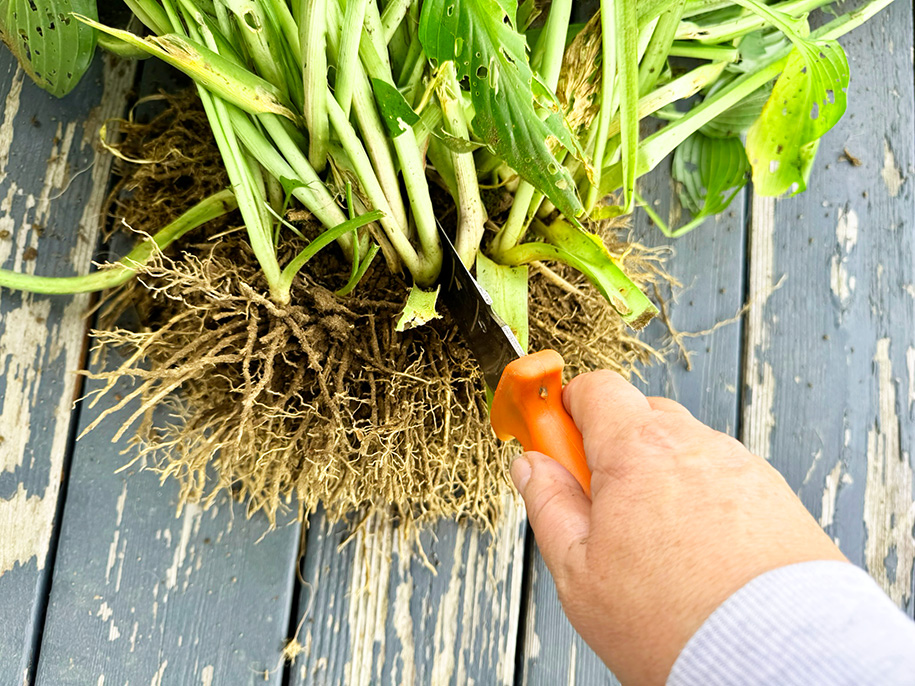
photo by Debra Heleba
Some plants, such as hardy mums (Chrysanthemum × morifolium) bloom in the fall, so they should be divided in the spring when their energy is focused on growth rather than on producing flowers.
Other plants don’t like their roots disturbed and are best left to other forms of propagation since the success rate using division is likely to be poor. For example, lupine (Lupinus) has a long taproot and doesn’t do well if moved or divided. Alternate methods of propagation such as growing from seed or taking basal cuttings are likely to produce more successful results.
When in doubt, research the plant to be propagated to determine the best method.
When dividing a perennial, choosing a mild, overcast day can help reduce stress on the plant. Water well shortly before proceeding.
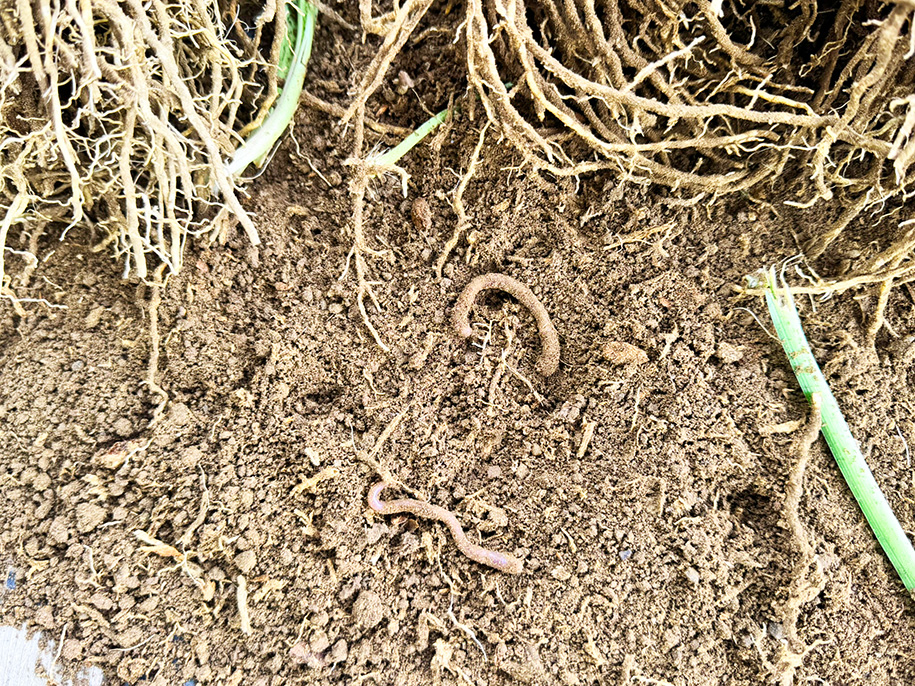
photo by Debra Heleba
Gather needed tools, including a spade, garden fork, garden knife and loppers or hand pruners. Make sure they’re clean and disinfected to prevent spread of possible plant diseases or pests. A tarp or wheelbarrow is needed to hold the root ball once it’s removed from the ground.
Remove dead or damaged leaves and those that have begun to die back as the end of the growing season draws near. Cut back excess leaves (up to one-third of the plant’s foliage) to make for easier handling during removal.
Dig around the root ball, preserving as much of it as possible. If the plant is particularly stubborn, use a sharp blade to aid in its removal. When loosened, lift the root ball using a spade or garden fork.
Place the root ball on a tarp on the ground or in a wheel barrel. Shake or otherwise gently remove enough soil to get a good view of the roots. Remove any that are dead or damaged. This is also a good time to inspect for jumping worms, especially in the fall, so they won’t spread them to other parts of your garden. Work quickly to minimize the time roots are exposed to air.
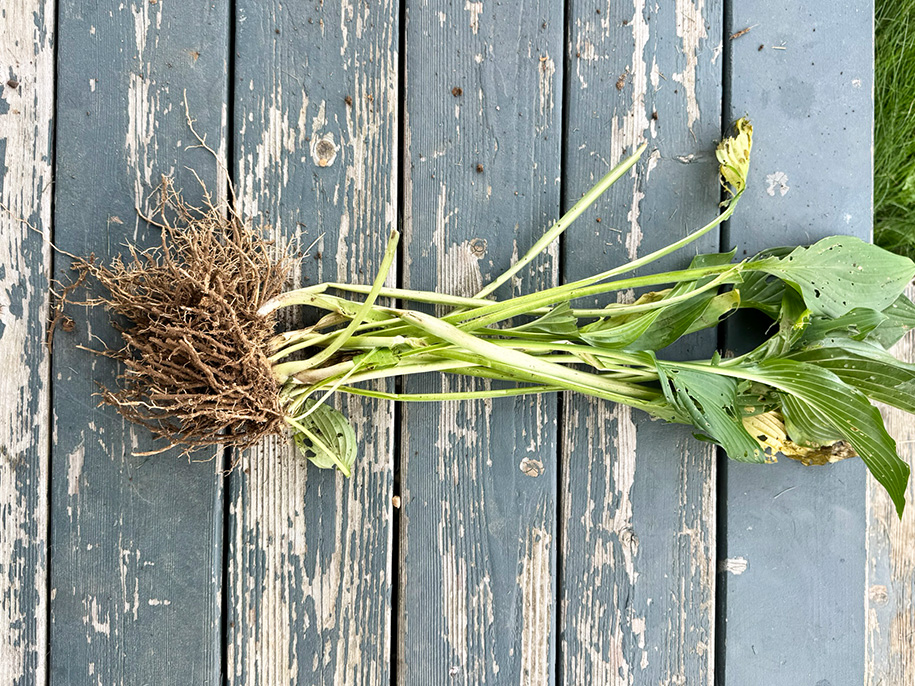
photo by Debra Heleba
Select where to make divisions in the root ball. In general, be sure each segment includes a good clump of roots and some above-ground growth. Divide the root ball into segments by hand or with a garden tool.
If segments can’t be planted immediately, pot them up and keep in a sheltered location.
If planting in ground, plant at the same depth as the original plant. Fill in the hole, tamping the soil down lightly. Water well. Do not fertilize until spring.
With a little work this fall, there will be happy, healthy plants to enjoy come spring.
Deborah Benoit is a UVM Extension Master Gardener living in North Adams, Mass., who volunteers as a garden columnist and participates in Bennington County Extension Master Gardener Chapter activities.
Deborah J. Benoit
Deborah Benoit is a UVM Extension Master Gardener who volunteers as a garden columnist and for Bennington County Extension Master Gardener Chapter activities.


